Showing posts with label robin's egg. Show all posts

Tuesday, April 26, 2011

My Spring Mantle and Spring Cleaning Commitment for the Week

Good Morning Friends!

Its time for me to leave my weekly commitment for the Spring Cleaning Challenge! (I hope you will too!) But first, let me share with you some spring-y photographs from my neck of the woods...


A little daffodil pushes its way through the earth...


Tiny leaves emerge on my lilac tree...


Our cactus and succulent (and orchid) collection glowing green in the morning light...


And presenting... MY SPRING MANTLE!!


Actually, I took this picture about a week ago when it was still in progress and it has already changed a little, but here are some photos...I wanted to be sure to share them before spring gets
away! It looks so lovely in the evening all lit up!


An apothacary jar with a tiny nest inside...for Easter, I filled this jar with pastel shabby-chic Easter eggs that I painted and antiqued. It was precious! Do ignore the strange people in the picture frame. I don't know them. They came with the frame, which I plan to fill with wedding photos...


These are my white ceramic bunny rabbits. I searched the town and etsy high and low to find bunnies that were just plain white. (This proved to be harder than expected) Then I found them on the bottom shelf in the corner of a store. I was so excited! They are the perfect symbol of spring, and they are so cute I can hardly stand it :) I'm sure I will cherish them for years to come.

I painted a double-decker bird house for the mantle. In this pic I had not yet distressed and antiqued it, but you can get the idea.


Spring-green and lavender candles light up the mantle...
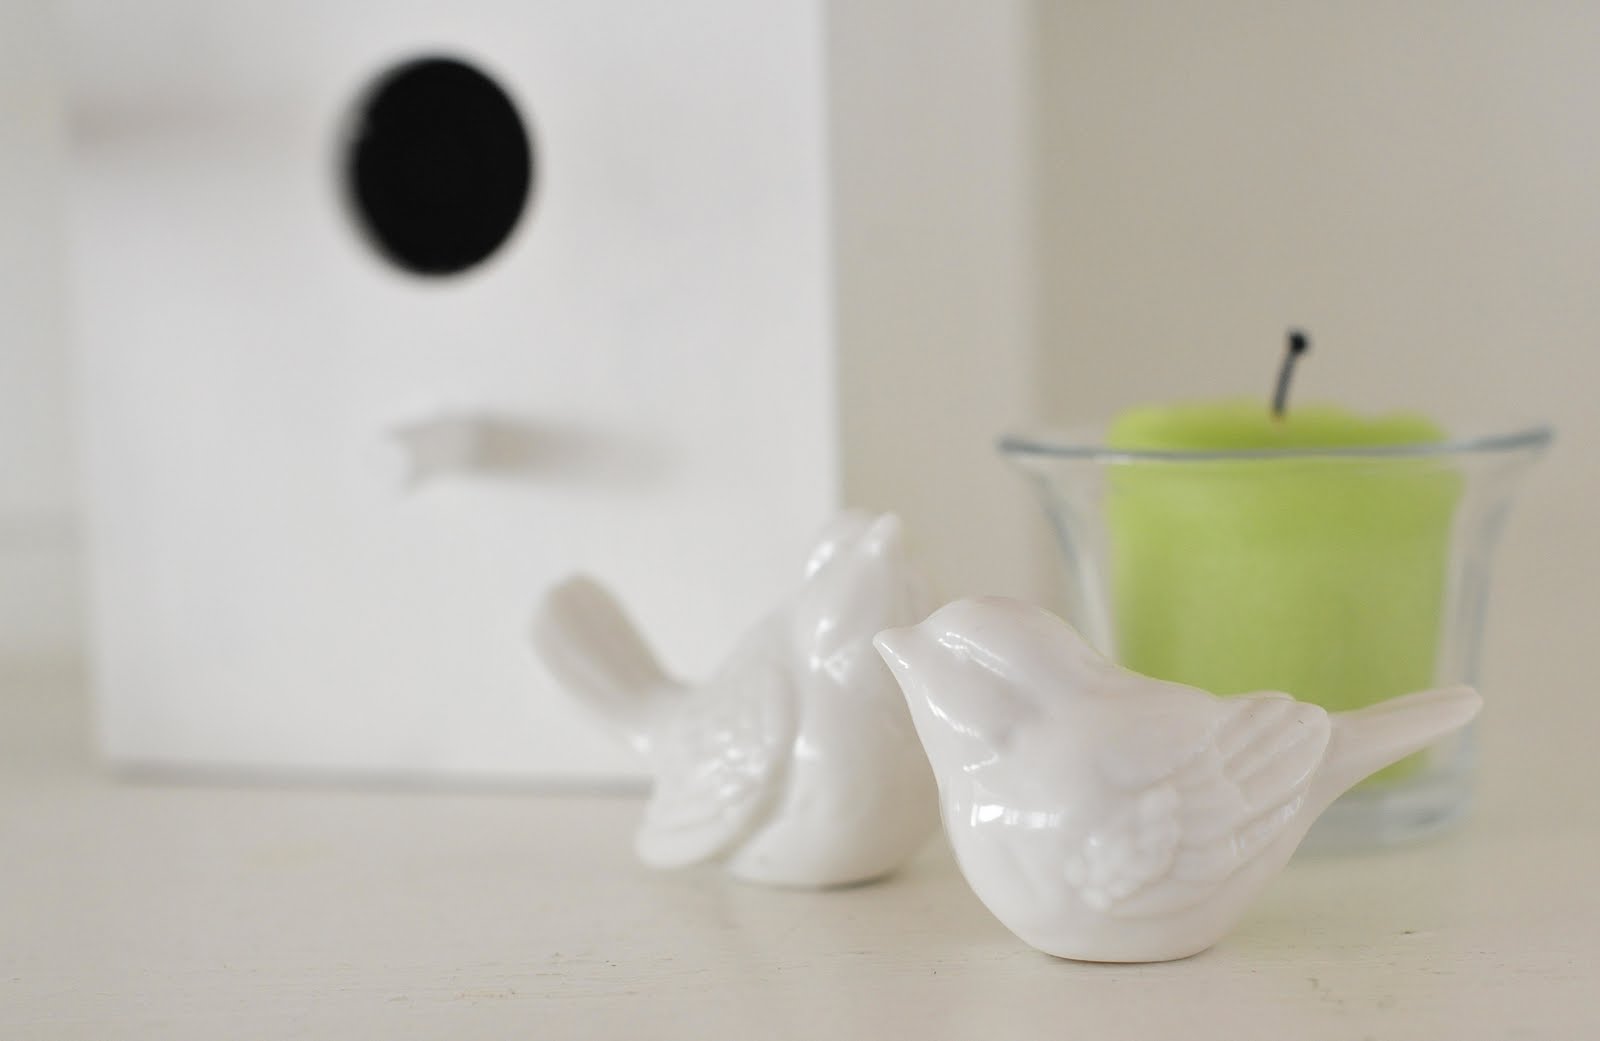


My sweet ceramic birds from Ventura, CA :)


My real birds nests collection, one I found and one Audrey found for me, along with other bird fancies, including the art print in the back (I am looking for the right frame for this), called "Nesting Material" made by an Etsy artist Anna Ruby King in Athens, Greece. If you love it, you can get one too here:


http://www.etsy.com/listing/62799572/nesting-material-limited-edition-hand?ref=sr_list_1&ga_search_query=nesting+material+print+&ga_search_type=handmade&ga_facet=handmade


Some of my favorite things :)


And now...


My personal Spring Cleaning Commitment for the week:


This week I will clean out and organize my "junk drawer" Right now its hard to open and close because things are always getting caught. Its a mess. I hearby commit to making it functional this week!


What is your commitment for this week?! (Leave a comment!)


Love,


Abbey

Saturday, May 1, 2010

Nesting


Lots of natural and nature-inspired materials to work with...


And I repurposed some little grapevine wreaths that used to be filled with fresh flowers and laced with cream satin ribbons that never quite made it to our wedding ceremony and ended up in a box. Now they have new life! I soaked them and uncurled them...


And created a special frame out of wire...
And got to work building...


And something new and inspiring was born...
If you love it, it just might be available as a one-of-a-kind art piece in the Love's Garden Spring Collection ;)...available within the next couple of days... and stay tuned for a Love's Garden Spring Giveaway on this blog this week!

Friday, March 19, 2010

A Little Creative Inspiration For You: Spring Wreath Project

Because we just moved, and we are partially still in boxes, I didn't think too much about how to decorate for Spring and Easter, but I could hardly stand it and I had to make something to add a little touch of special preparation for this time of year...


I decided to keep it simple, and for about $8- $10 or less I created this sweet little wreath for our door. It was really fun, and with all my work on pieces for Love's Garden, I haven't made as much time to make things for myself lately, so it was a good opportunity to make something pretty for the cottage. Maybe you will be inspired to make one of your own creation!


A Little Spring Wreath:


Materials:


  • Grapevine wreath 16-18 in, mine was $2.99


  • a sprig of faux flowers (I chose a single branch of white cherry blossom flowers) with lots of little heads or stems to be removed, mine were $3


  • faux eggs, craft stores sell many kinds this time of year, but mine were paper mache eggs in a pack of 12 for $2, robin's egg size, and I painted and attatched wire myself


  • craft paint for the eggs if needed (I already had some)

  • wire for the eggs if needed (I also already had this)
How to:

1. Gently remove flower stems from branch. Every type of faux flower is different, but most are easy to remove. Personally, I'm not a huge fan of faux flowers, but I've found that if used minimally and if you choose the right ones, they can have a pretty result. And they are good for a quick project. So I decided to use them in this project. In the future I may try making my own from paper...

Leave on enough stem to use for tucking in to wreath for the easiest project. You could also use old scissors if needed and you can always glue the flowers, but I plan on using the same grapevine wreath and switching out the decor each season so I didn't choose to glue.

2. Gently tuck flowers in around the wreath as evenly spaced as you like, keeping a balanced look, unless you are going for the wild and crazy look which I'm also in support of, so if that's the case, knock yourself out... ;) Its your wreath!


This is my majestic, beautiful, funny cat, Spoofer. She likes to be very involved in/sit on all my projects. In this case, I'm pretty sure she thought this was a spring-themed nest that I made just for her. In any case, I was able to capture this portrait of her, and I particularly love the look in her eyes. Its like she knows she's sitting on my work. Of course.


3. I then painted my eggs in off white and tan. I really wanted some of them to be robin's egg blue, but I didn't have that color in craft paint, so I'll probably add some in that color later.


4. My eggs didn't come with wire already in them, so I added some by poking the wire through the bottom of the egg.


5. I then twisted the wire around itself,


to make thicker wire to work with,


And there you have it.
6. Then like you did with the flowers, tuck the eggs around the wreath however you like.
Your wreath is done! Hang in somewhere inspiring!
Here is my finished wreath which I hung on our cottage front door:
Have fun crafting!
Love,
Abbey
Related Posts with Thumbnails